Signing documents
After a document is generated it is routed for signature. Each person signs in turn; when everyone has signed, the final signed document is sent to all of them. How a person signs depends on the signature type:
- With a qualified signature (QES) — in the Autosignly QES desktop app.
- With an electronic signature with identity verification — in the browser, confirmed by an SMS code and a device passkey (fingerprint, face or PIN). If the device is not compatible, see Windows Hello (PIN).
- With a simple signature (SES) — in the browser, no code.
The email sent to the signer
Each signer receives an e‑mail inviting them to sign:
- Subject: Document for signature – [document title]
- Body: a greeting, the company name, and “[issuer] invites you to sign the document «[title]» using the Autosignly platform.”
- A line describing the signature type and its legal value.
- Link valid until a given date, and a Sign document button with the signing link.
Opening the link (or choosing Generate and sign document when you are a signer yourself) opens the signing view for your signature type. The signature type and mode are fixed by the issuer — you sign with the assigned type and cannot change it.
After signing
A signer's stamp is added to the document and their status changes to Signed; the counter advances (e.g. Signers (1/2)) and the document shows Signing in progress. The next signer then receives their e‑mail. Once everyone has signed, the document becomes Signed and can be downloaded with Download document. You can also order a signature certificate — a court‑ready evidence sheet of the signatures, e‑mailed to you free of charge.
Verify a signature
Anyone can confirm the authenticity of a signed document on the public signature verification page — no login required. Step-by-step instructions:
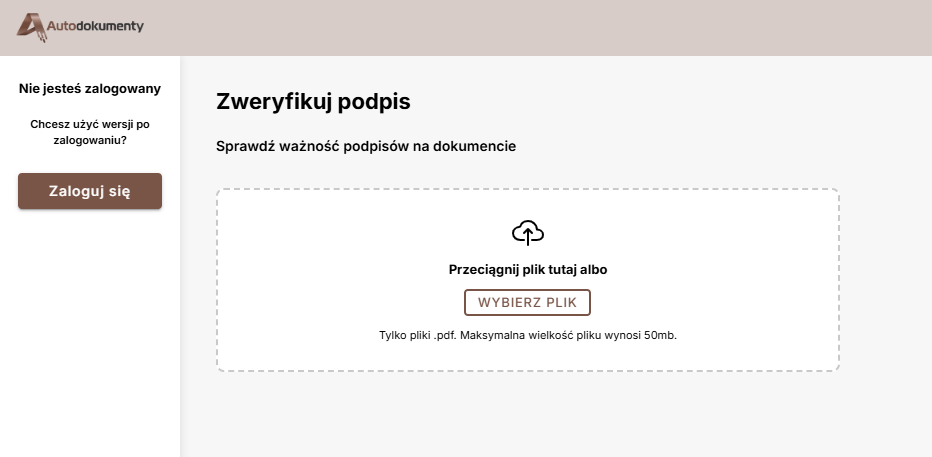
To inspect signer metadata and digital signatures directly in the PDF file, see Manually validate a PDF.
Screenshots are generated automatically from the test environment and are available in Polish and English.