Signing — qualified (QES)
A qualified signature (QES) is made with your own qualified certificate held on a USB QSCD card, using the AutoSignly desktop application. The signature is created locally on your computer — the private key never leaves the card. A QES has the highest legal value under eIDAS (equivalent to a handwritten signature).
You need:
- the AutoSignly desktop application installed on your computer,
- your qualified certificate on a USB token / card, connected to the computer,
- the PIN to your signing card.
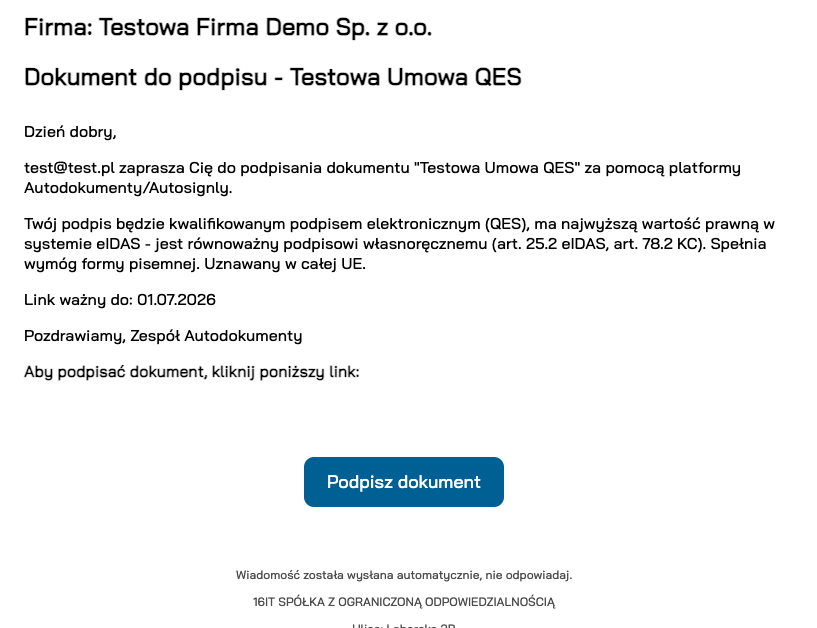
1. Open the signing link
Each signer receives an e‑mail inviting them to sign. For a QES it states that the signature is a qualified electronic signature (QES) with the highest legal value under eIDAS, and shows the date the link is valid until. Click Sign document (Podpisz dokument).
2. Choose the signing method
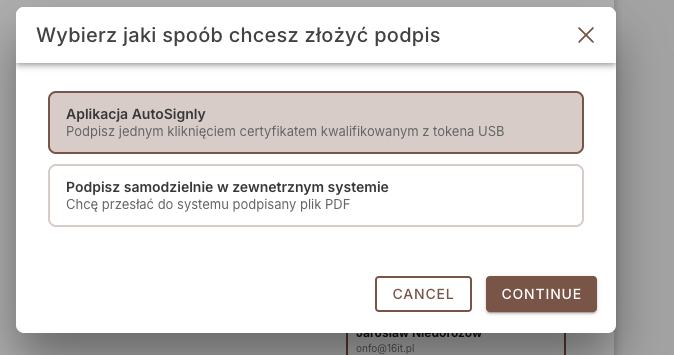
Select how you want to sign:
- AutoSignly application — sign in one click with the qualified certificate from your USB token (recommended).
- Sign yourself in an external system — upload a PDF you have already signed elsewhere (see Signing — QES in an external system).
Choose AutoSignly application and click Continue.
3. Open AutoSignly
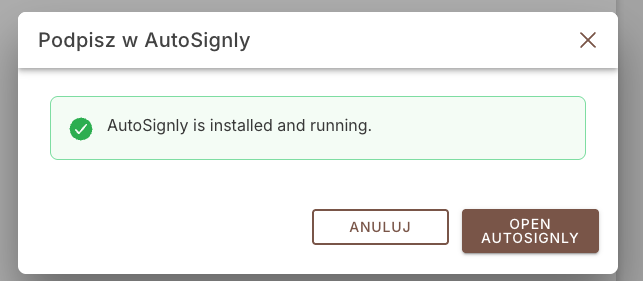
The browser detects the desktop app and confirms AutoSignly is installed and running. Click Open AutoSignly.
4. Select your certificate
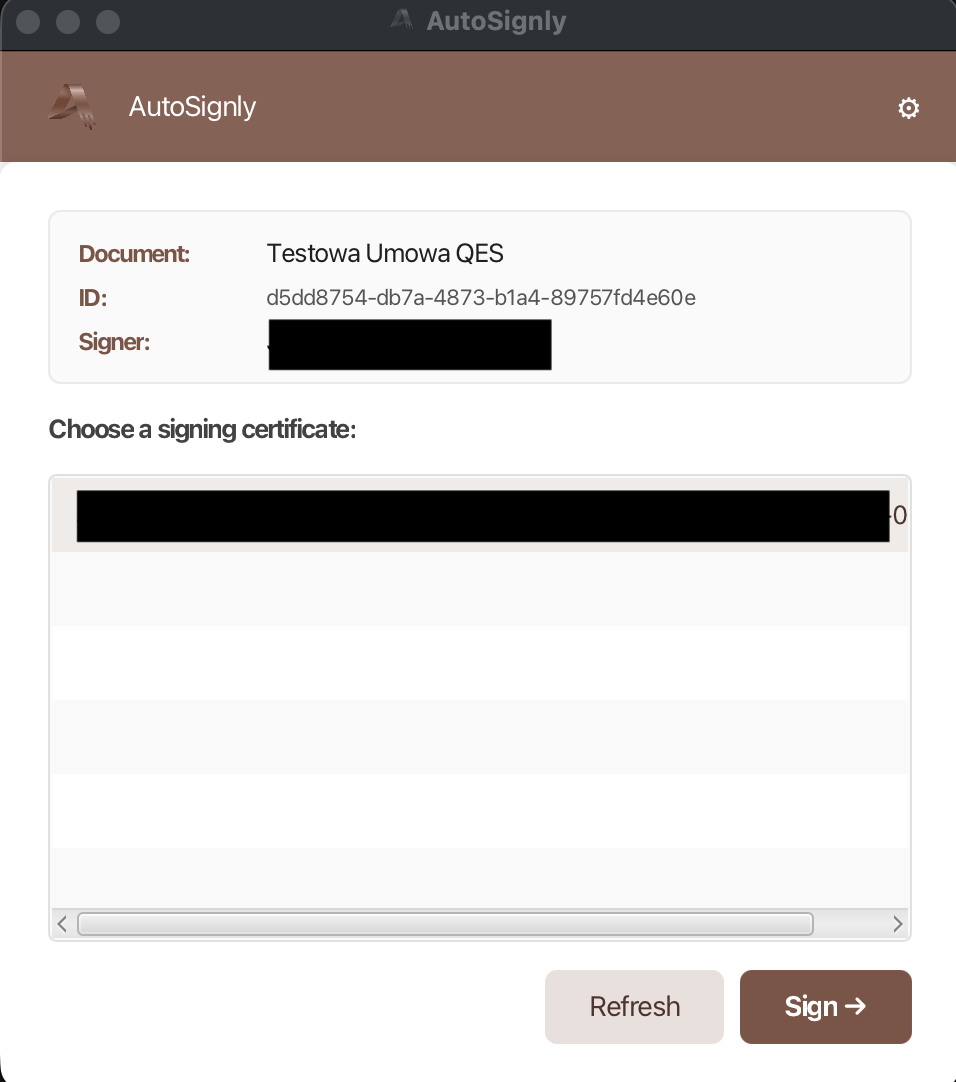
AutoSignly opens and shows the document name, its ID and the signer. Pick your certificate under Choose a signing certificate and click Sign →. Use Refresh if the card was connected after the app started.
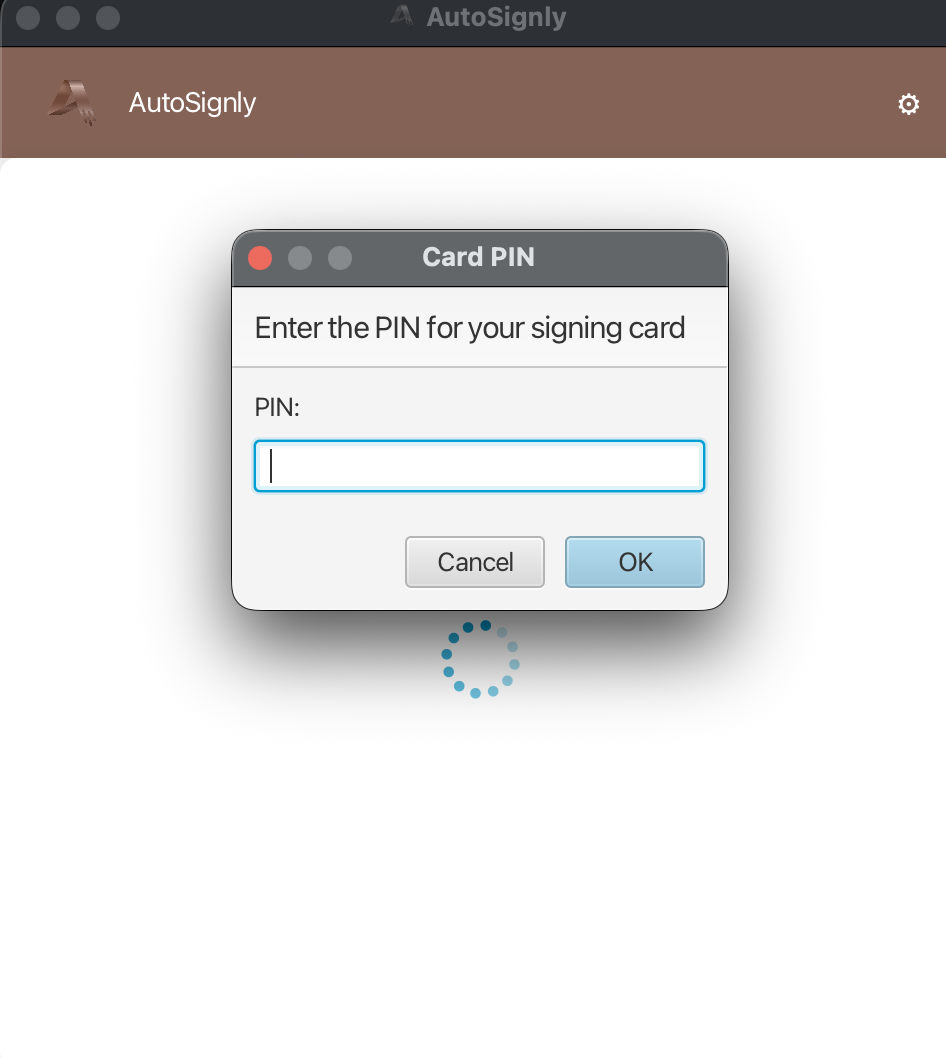
5. Enter your card PIN
Enter the PIN for your signing card and confirm with OK. The qualified signature is created locally on your machine.
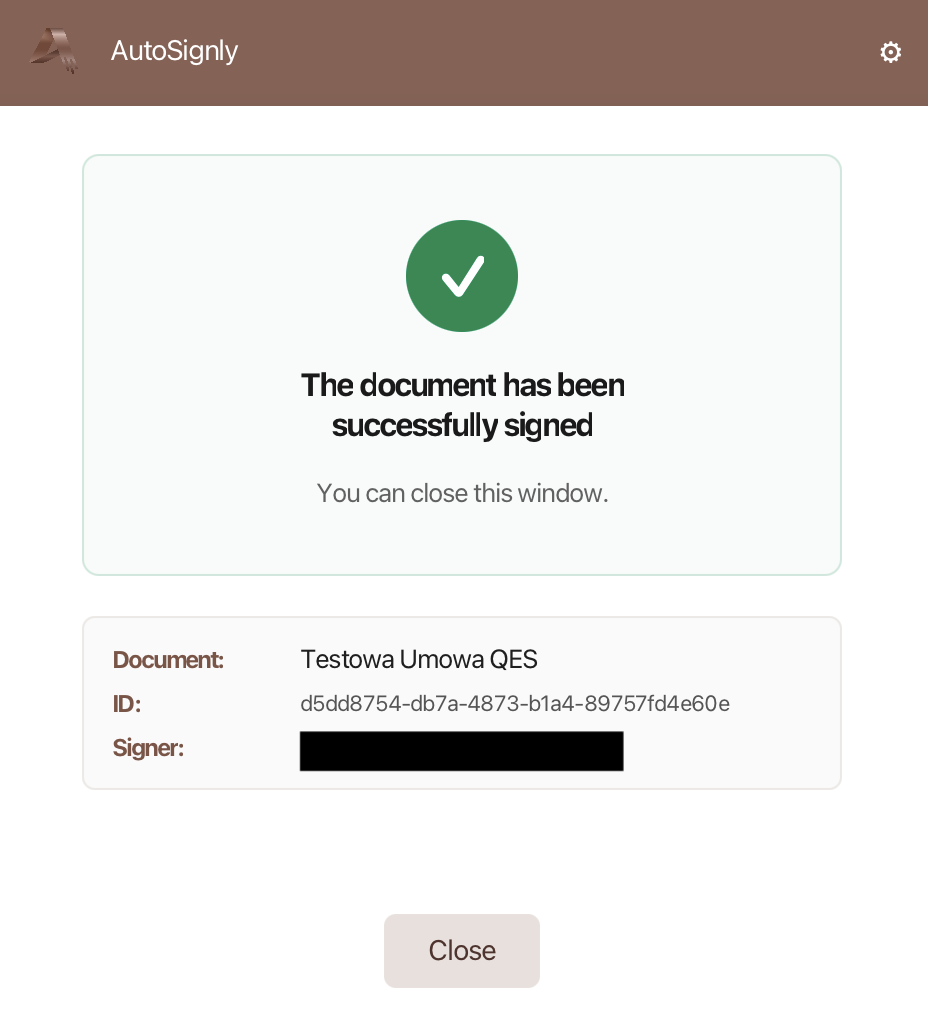
6. Done
AutoSignly confirms The document has been successfully signed. Click Close — you can return to the browser.
While the hardware step runs, the document status reflects it
(AWAITING_INITIAL_USB_SIGN / AWAITING_FINAL_USB_SIGN; NEED_RETRY_USB_FINALIZE if a step
must be retried). When all signers are done, the document is closed with a final qualified
16IT seal and an archival timestamp, and becomes Signed. The process then continues as in
Signing documents (status, verification, download).
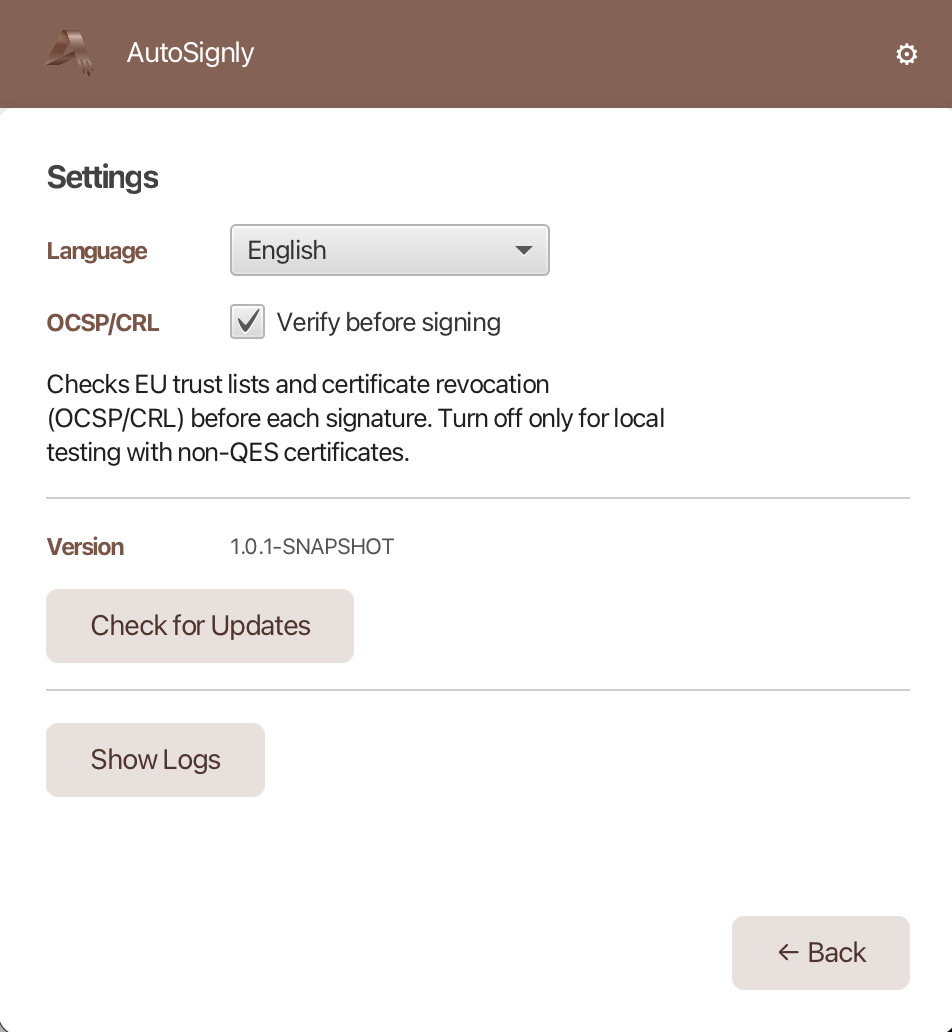
AutoSignly settings
Open the gear icon in AutoSignly to change the language, manage updates, view logs, and control OCSP/CRL validation. Verify before signing checks EU trust lists and certificate revocation before each signature — keep it on for qualified signing.
For the legal value of a QES and how to require it when generating a document, see Generating with a qualified signature.
Screenshots are taken from the live application and the AutoSignly desktop app.