Signing — QES in an external system
If you prefer to sign with your own qualified signature software — whether a desktop app (e.g. Adobe Acrobat, Szafir SDK, your trust-service provider's client) or a web-based tool — you can do so and then upload the signed PDF back to AutoSignly.
1. Choose the signing method
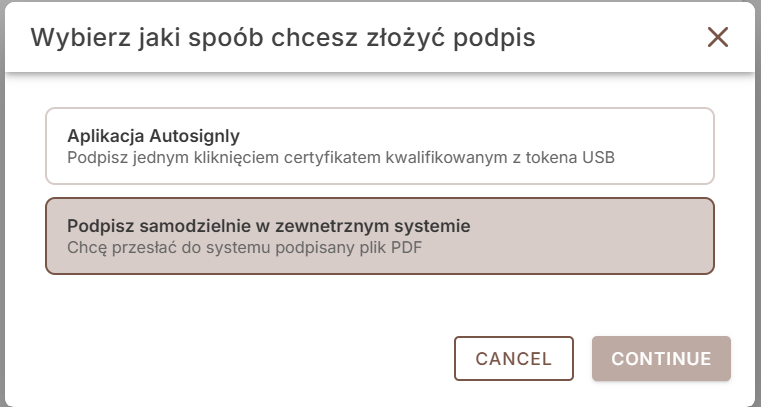
Open the signing link from the e‑mail invitation. In the "Choose how you want to sign" dialog, select Sign yourself in an external system (Podpisz samodzielnie w zewnętrznym systemie) and click Continue.
2. Download the document
The "Qualified signature on your own" dialog opens. Click the document link (e.g. dokument_…pdf) to download the unsigned PDF to your computer.
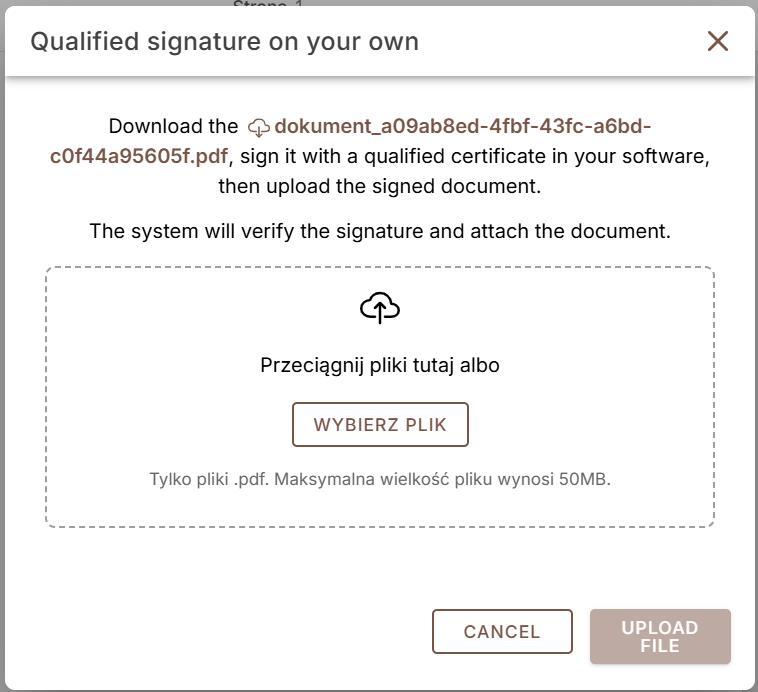
Open the downloaded file in your qualified signature software, sign it with your qualified certificate, and save the signed PDF.
3. Upload the signed PDF
Drag the signed file into the upload area or click Wybierz plik (Choose file) and select it. The dialog accepts PDF files only, up to 50 MB.
When the file is attached, its name and size appear below the upload area and the Upload file button becomes active.
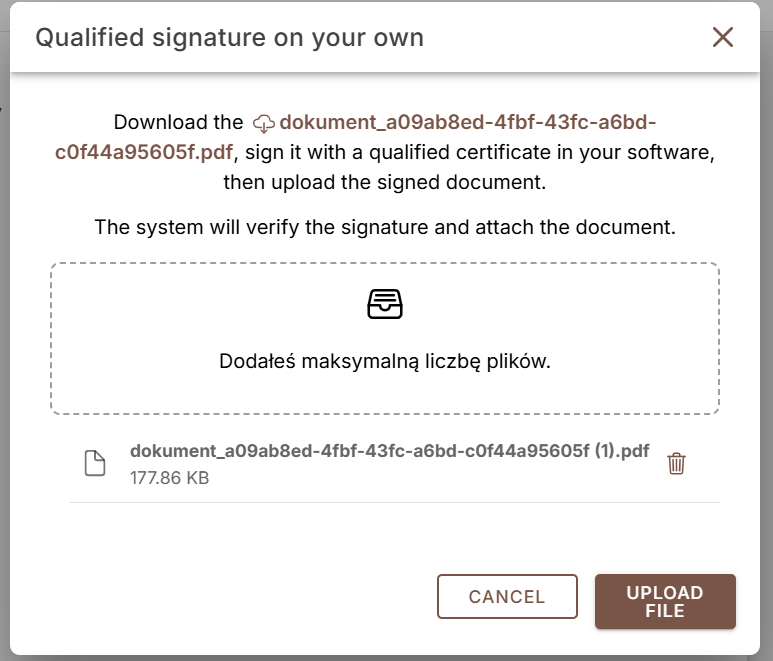
Click Upload file.
4. Wait for verification
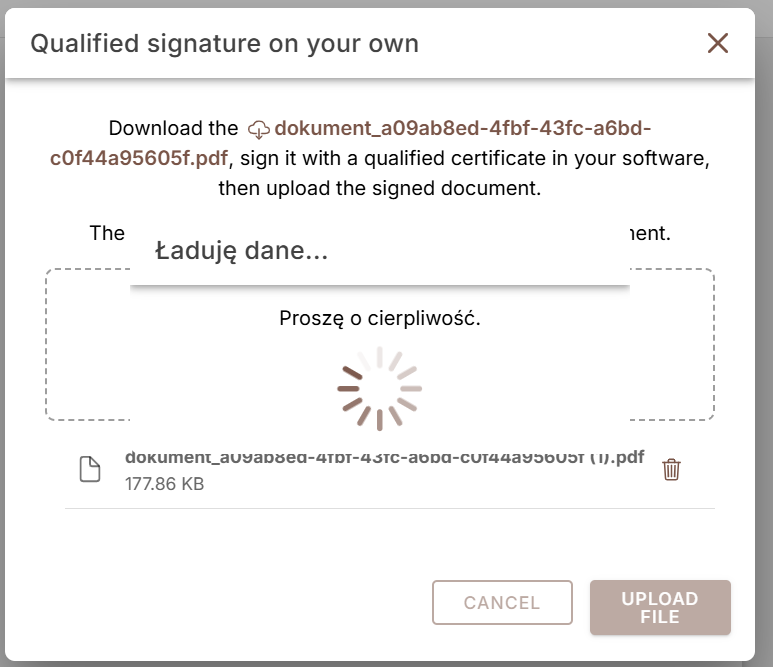
The system validates the qualified signature inside the uploaded PDF. A loading indicator (Ładuję dane… Proszę o cierpliwość) is displayed while verification runs.
5. Done
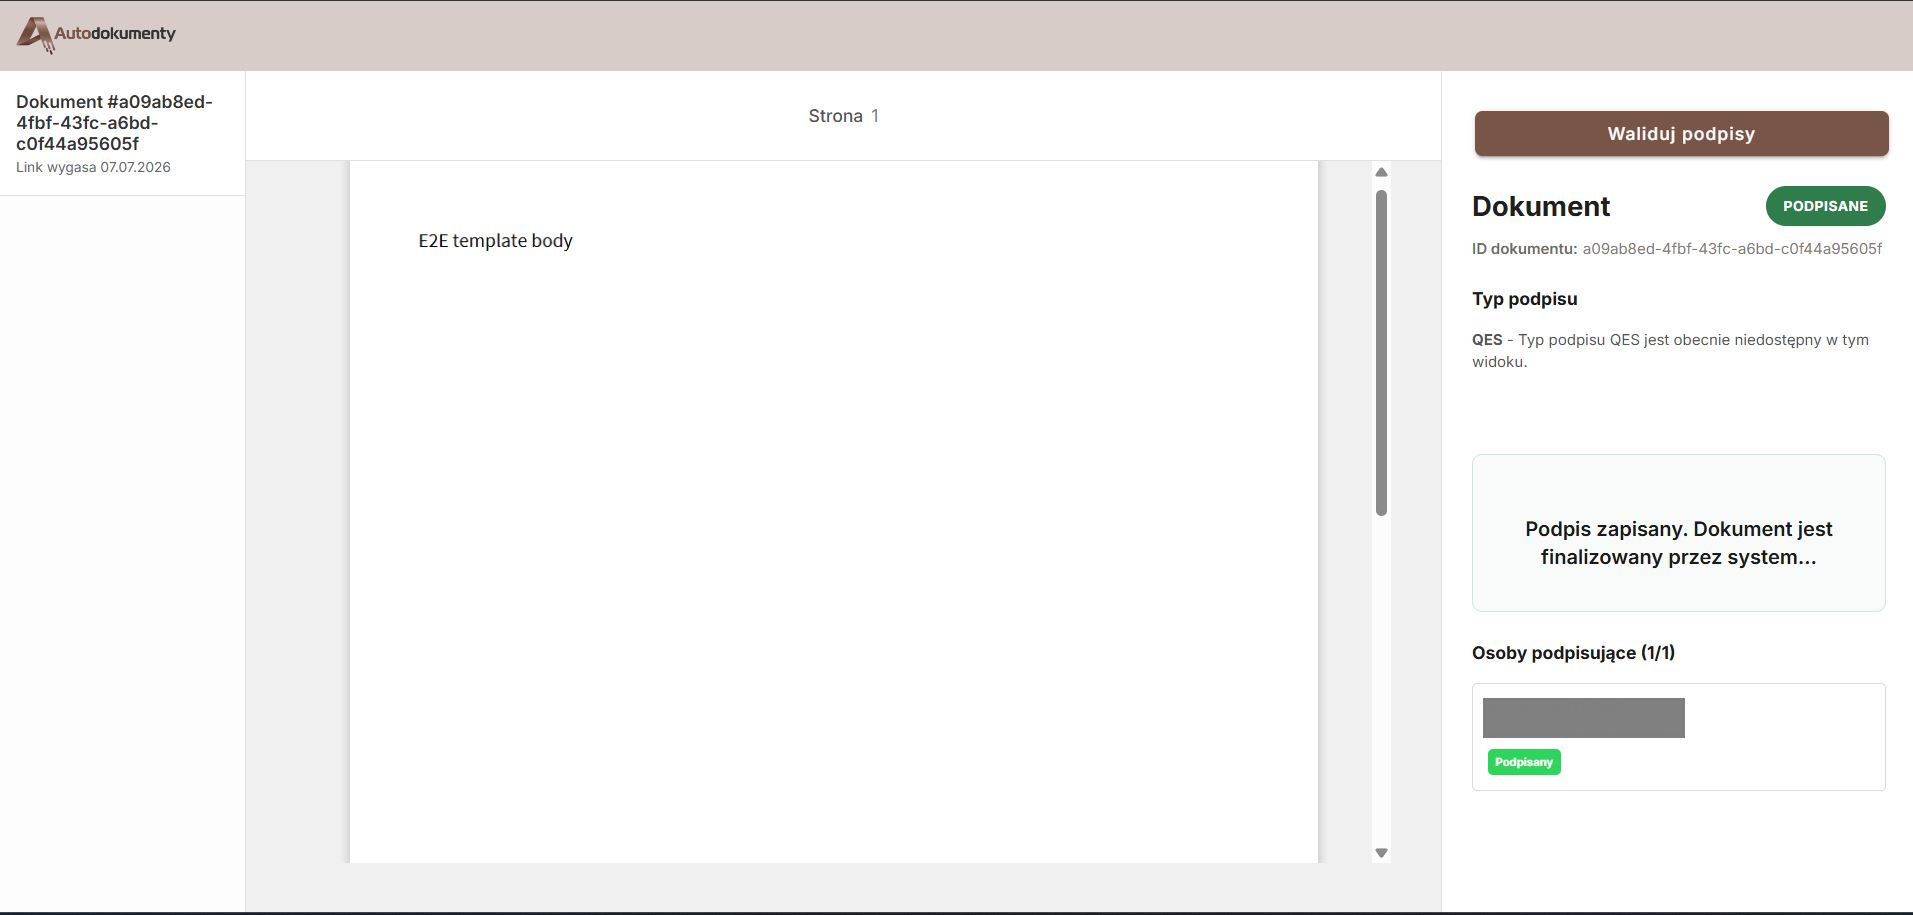
After a successful upload and verification, the Autosignly document viewer opens. The document status badge changes to PODPISANE and the sidebar shows:
- Typ podpisu: QES
- Podpis zapisany. Dokument jest finalizowany przez system…
- The signer listed under Osoby podpisujące is marked Podpisany.
Use the Waliduj podpisy button to run an on-demand signature validation.
When all required signers have completed the process, the system closes the document with a qualified 16IT seal and an archival timestamp.
To sign with one click using the USB token directly — without downloading and re-uploading — see Signing — qualified (QES).
Screenshots are taken from the live application.