Getting started
What is Zapier?
Zapier is an automation platform that connects different apps and services. With Autofaktury's Zapier integration, you can automatically create invoices when certain events happen in other apps (like new orders, form submissions, or scheduled tasks).
Requirements
- Client API ID – to obtain your identifier, email [email protected] and include your NIP (tax ID)
- Zapier account (free tier available)
For required fields and data formats, see the full action reference: Create Invoice.
Quick Start Workflow
1. Create Your Zap
-
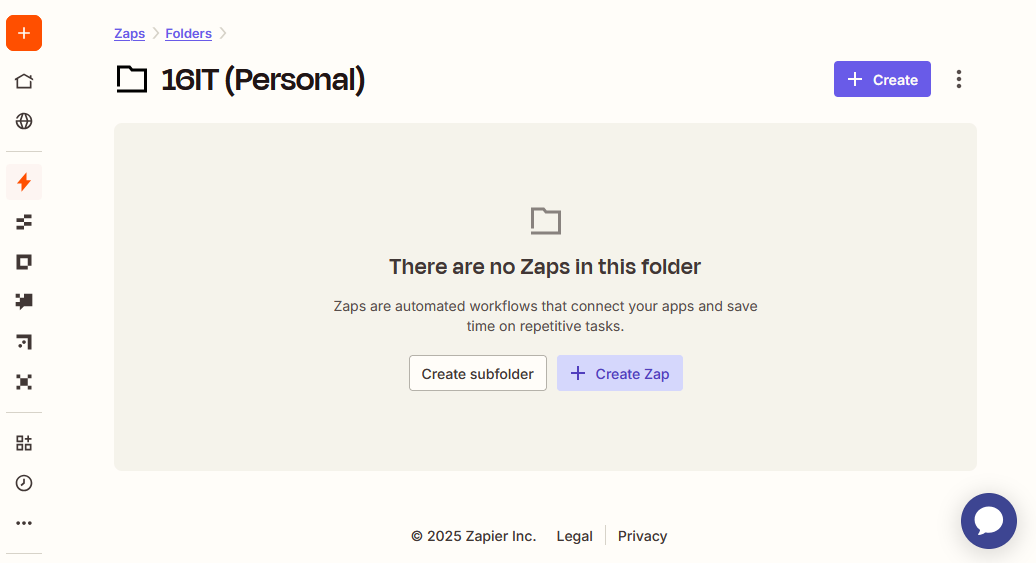
Go to zapier.com and log in to your account.
-
Click Create Zap to start building your automation.
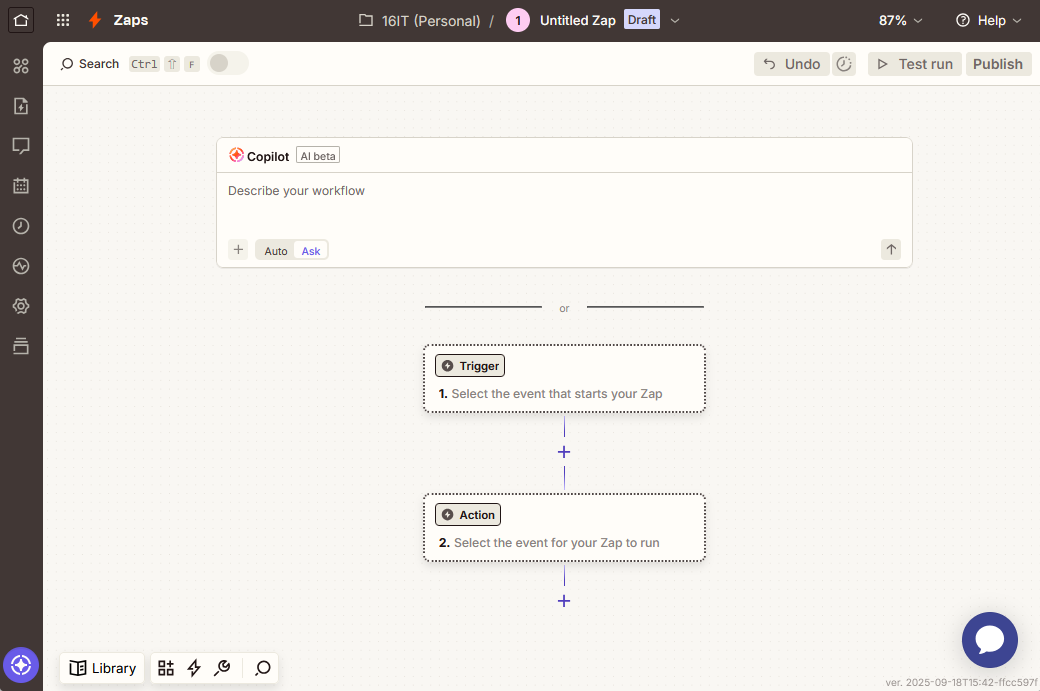
2. Choose Your Trigger
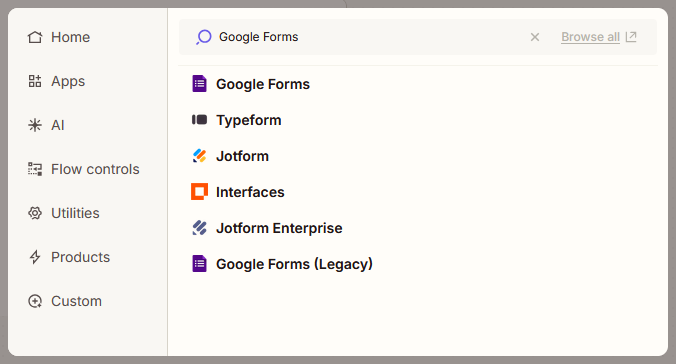
Select a trigger app (e.g., Google Forms, Shopify, Webhooks) that will start your automation.
Tip: Design your trigger data to match the fields you plan to use in Autofaktury. See the Create Invoice reference for field names and formats.
Example: Google Forms
- Create a form with fields matching your invoice data
- Submit a test response for Zapier to use as sample data
- Connect your Google account and select the form
3. Add Autofaktury Action
-
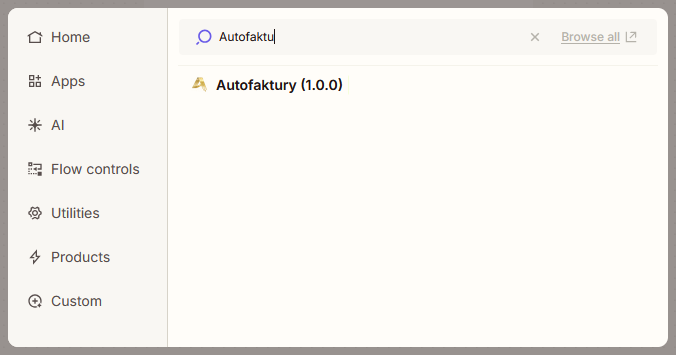
Add Autofaktury as the Action app.
-
Choose the desired action event. Currently available: Create Invoice.
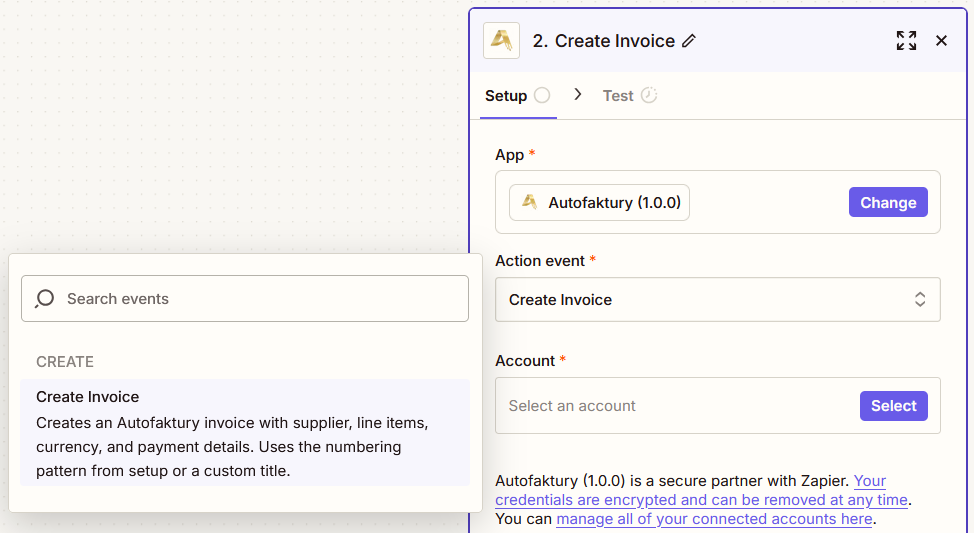
4. Connect Your Account
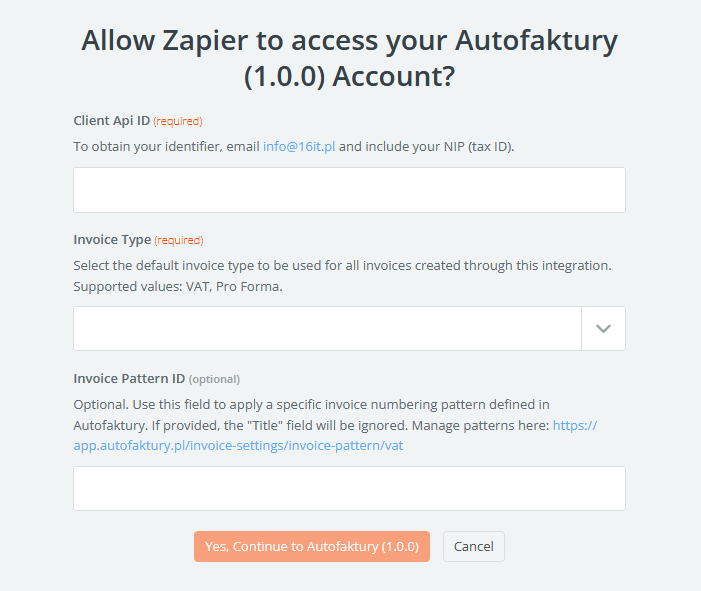
In the Setup step, provide your Autofaktury credentials:
-
Client API ID (required) - If you don't have it yet, email [email protected] and include your NIP (tax ID).
-
Invoice Type (required) - Choose
VATorPro Forma -
Invoice Pattern ID (optional) - Use predefined numbering pattern
5. Map Your Data
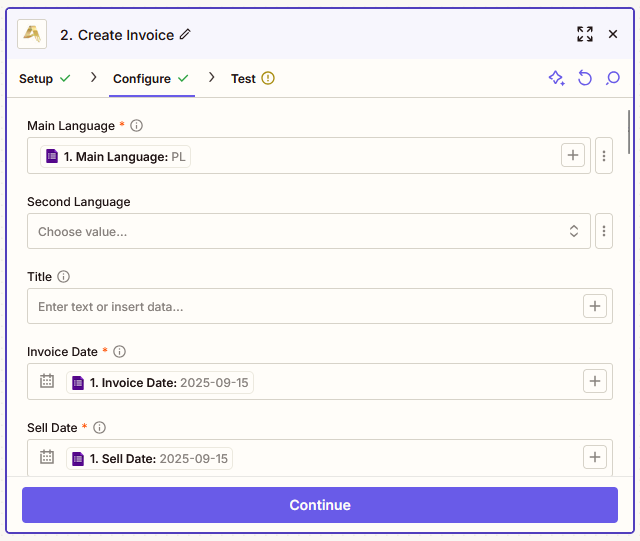
Map fields from your trigger app to Autofaktury invoice fields. For the full list of field names, required/optional flags, formats, and examples, see the Create Invoice reference.
6. Test & Publish
-
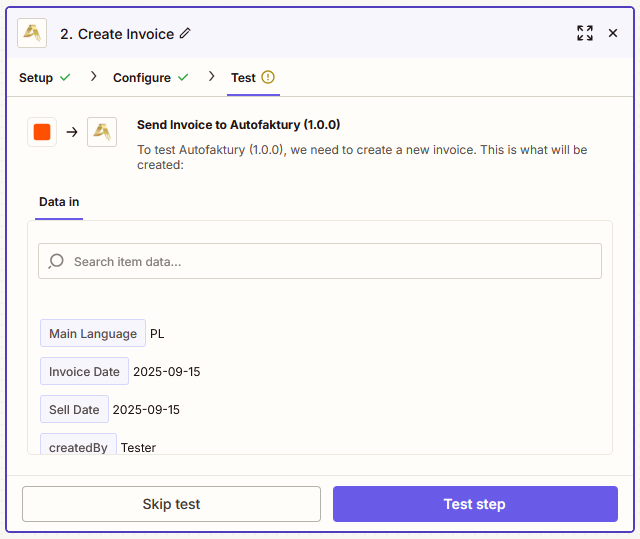
Test your Zap to verify data mapping works correctly.
-
Publish your Zap to make the automation live.

Troubleshooting
If you encounter issues, see Troubleshooting for common problems and fixes.